Minecraft Server

I decided to do something a little different as a way to test out my personal workflow as far as standing up a server, installing proper software, and then monitoring the server for resource management all while having a little bit of fun. To be honest I don’t really play video games much anymore, but I bought Minecraft Java edition back in 2010 and figured I would give standing up a minecraft server a shot. The basic outline of the plan is this:
- Use my Ubuntu Server template in proxmox to create a new server
- Pass a hostname to the new server. It’s already got my ssh-keys on it.
- Install Java on the server.
- Download Paper Minecraft Server
- Run the minecraft server
- Configure my domain name to point to my minecraft server to allow anyone I want to connect to it.
- Connect to the server
- Monitor the server resources as I’m playing
- Adjust the resources if necessary
- Survive in Minecraft.
Setting up the Server
Getting my template up and running was easy enough in Proxmox. All I had to do was right click and select clone. I made it a full clone so it wouldn’t mess with my template. I gave it 8GB of RAM and 4 cores in case I wanted to extend resources. I can always scale back if I need to. I also moved the VM onto the DMZ VLAN I had setup so I can expose it to the internet without risking the security of my LAN.
Once I got on the box I changed the /etc/hostname file to the name minecraft for organizational purposes and then got to work installing Java on the server.
Installing Java and Downloading Paper Minecraft
I went with Java 17 for this server. I figured out that this was the only option that worked with the latest version of Paper Minecraft. To install Java 17, I just downloaded the latest .deb package with wget.
wget https://download.oracle.com/java/17/latest/jdk-17_linux-x64_bin.deb
Then I used dpkg to install it.
sudo dpkg -i jdk-17_linux-x64_bin.deb
You can always check the version with java -version if you want.
I then made a directory in my home directory called paper to hold everything and downloaded paper Minecraft with wget https://papermc.io/api/v2/projects/paper/versions/1.18.1/builds/177/downloads/paper-1.18.1-177.jar.
Running Minecraft
Now that we have everything ready, we can run the server. As a first step, I installed screen on the system in order to run it in another terminal. You can also use tmux if you want. To enter a screen session, you can use screen -S minecraft. Now we can run our magic command:
java -Xmx6G -Xms6G -jar paper-1.18.1-177.jar nogui
The 6G is what specifies the amount of RAM to give the server. I can adjust that as needed. You should see a lot of different things in the console as the server boots up, it’s cool to see building world in real time.
Configure Domain Name
This was a little confusing. I wasn’t too keen on just allowing my public IP to be exposed when anybody pinged it so I actually proxied my root domain, added an A record that was proxied, a CNAME record that was unproxied and then added a SRV record to point at the Minecraft server. I know my IP is (probably) still exposed, but I think this should offer a little more protection. Besides, with my DMZ VLAN and the way I have that network locked down, I’m not worried but I always try to be on the safe side of things.
Connect To the Server
Inside Minecraft (version 1.18.1 to match the server), we just select Multiplayer -> Add Server and type in the address we just linked our server to, and we’re in! It’s pretty interesting to see how resources go up when someone gets added to the server.
The cool part about a Minecraft server is that it’s a more concrete server than most, and allows for some fun and creativity. Not that I didn’t have fun getting my other servers up and running, but this one I thought was pretty neat. There’s all kinds of plugins to add for extra functionality.
Survive in Minecraft
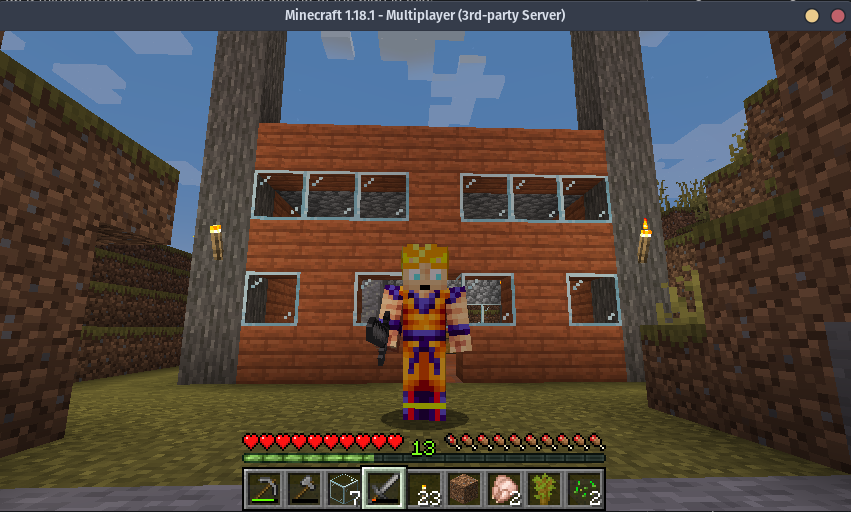
Here’s a picture of me in my server after a little bit. I’m no pro at Minecraft, but I like the house I’ve got going. No it’s not done, and yes my skin is Super Saiyan Goku from DragonBallZ.