Homelab - Setup
The Specs
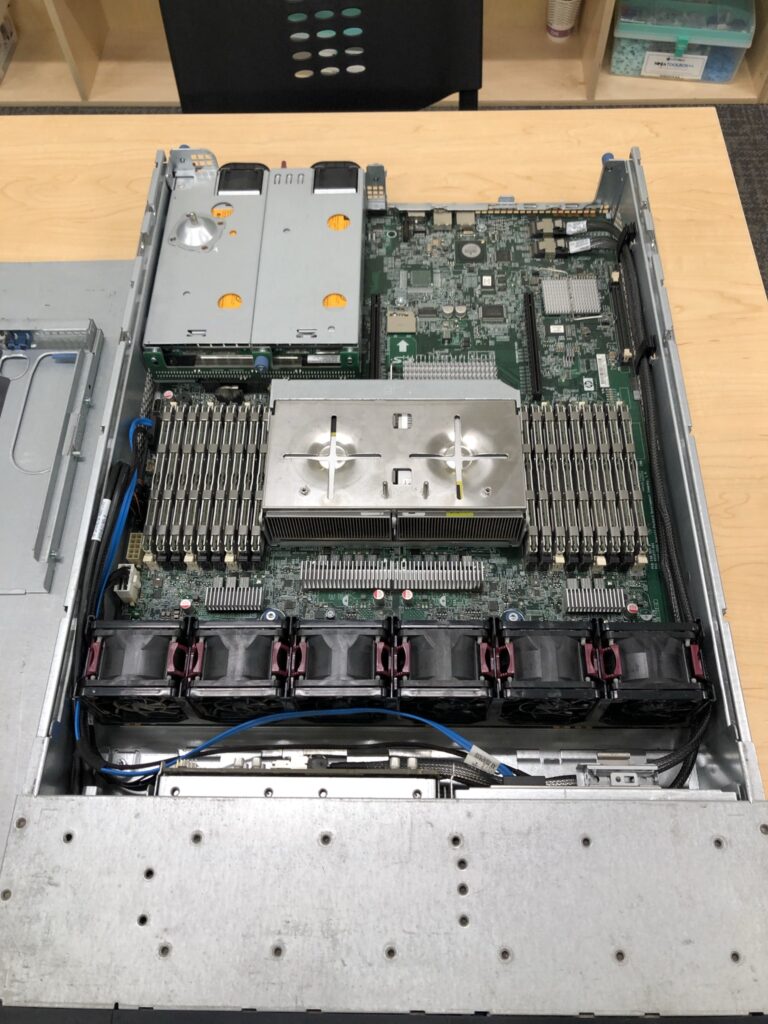
I got a server! It’s an old one, but it’ll do. I have big plans for this server, and I’m excited to get it up and running. The server is an old HP ProLiant DL380 G6. It has two Intel Xeon 6-core processors for a total of 12 cores, 60GB of RAM (it had room for 72, but three modules failed), and 1.168 TB of storage (8 drive bays with 146GB each). Clearly it’s not a powerhouse, but definitely good enough to start my virtualization server. At the beginning, I thought I should go with ESXi, but I ended up with Proxmox for reasons that will become apparent.

Raspberry Pi to the Rescue
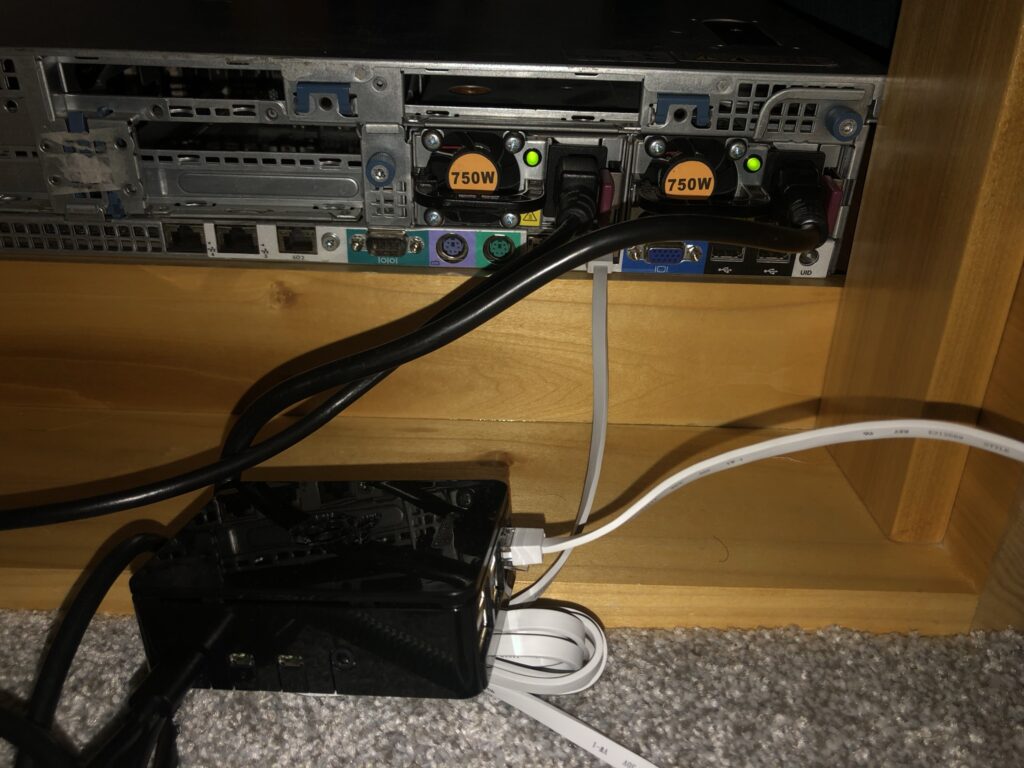
First I need to make it so I can connect my server via ethernet on my raspberry pi. My current internet setup has the modem and wireless router in the main living area, and I don’t want this noisy server there. Instead I’ll use the pi as a bridged router. Here is a guide that explains a little of what’s happening under the hood as well as providing a script. This post is really great for couple of reasons, number one is because it gives you the option of keeping the bridged client on the same subnet as the rest of your network (which is what I wanted in order to access the web console easier) or giving your client it’s own subnet. The second is that this worked out of the box with no extra configuration. I just threw raspbian lite on my pi and ran the script and I had a bridged connection providing internet connectivity for the dumpster server.

Getting ESXi and Proxmox
Normally I wouldn’t say too much about this process because it should be simple, but this process, at least with ESXi, was anything but. The first thing is that I could not access the download page for ESXi. I don’t mean without an account, I mean that the page kept giving me ‘page under maintenence’ messages, at least on my main machine. Once on my laptop I was able to access the page where I was told I would need to register an account with vmware, no problem right? Wrong. I could not finish the registration for the life of me. I was constantly hit with errors or mainenence messages. It took me literally an hour to finally finish making an account. After that was done I went to download ESXi. Where I was again met with a ‘register for your trial of this product’. It was a kafkaesque nightmare from which I could not wake. But, like the dwarves in Moria, I had dug too deep, and I wanted to see this through. I finally got registered with the product and attemped to click the ‘Download’ button on ESXi only to have it hang and not provide the download. Luckily someone else had this happen to them and posted the solution online. I ended up having to inspect the download button, find the link it pointed to and then go there. Finally, I was greeted with a download prompt and was able to make a bootable USB.
For Proxmox, I went to Proxmox’s website, navigated to downloads, and then downloaded the installer. That’s it. That’s the process.
RAID and Installation
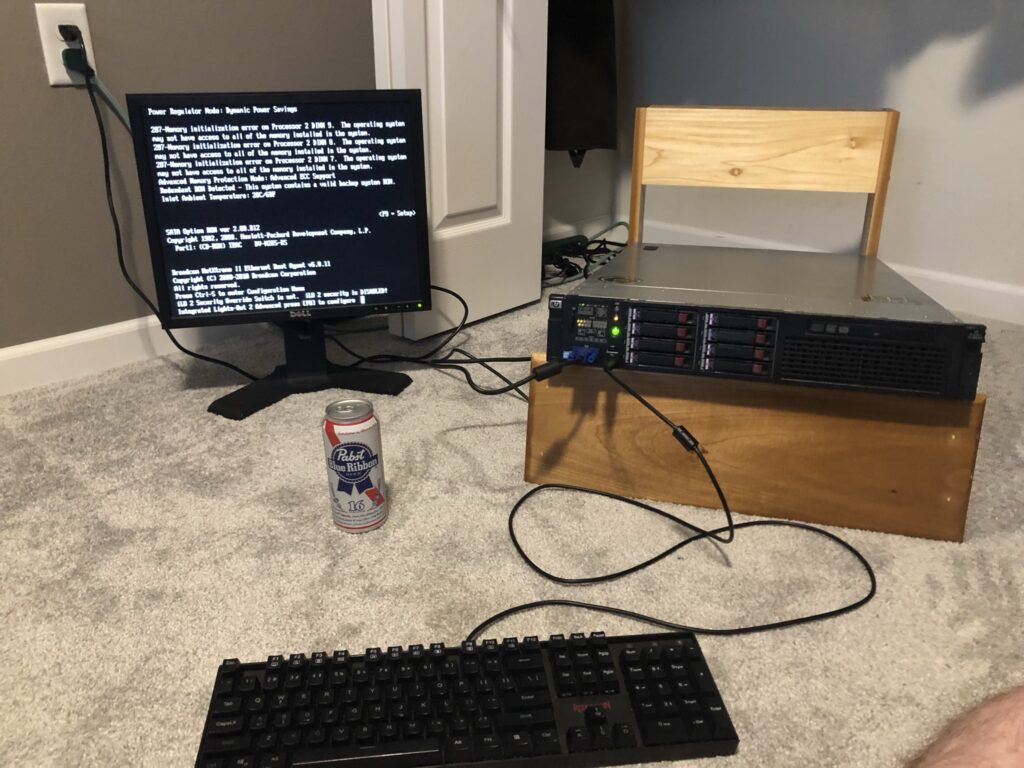
I learned that in order to install proxmox I first had to setup my disks in a RAID array. I also learned that getting to the RAID setup menu is not the most intuitive thing in the world. I first had to get into the iLO menu, exit out, and then hit F8 to get into the RAID setup. I decided to go with RAID 5 in order to have a little bit of grace with drive failure especially since it’s a dumpster server. After trying to boot ESXi and getting nowhere, I gave up on it. I installed Proxmox with no problems, but couldn’t get it to boot. Well after some quick research I learned that HP servers in particular, and maybe others, don’t allow booting from the RAID array by default. Unfortunately, by that point I had already reset all the BIOS settings and reinstalled proxmox, only to learn that RAID 0 is the default setup. Good thing I like to live life on the edge. Oh well, at least I have the full storage ability, and some write to disk benefits as well.

Lessons Learned
Overall I learned a lot from taking home this dusty old server. I learned that ESXi is annoying to deal with and open sourced linux based things (like proxmox) work better with sketchy hardware. I also learned about setting up RAID arrays, navigating server BIOS settings, and bridging a network connection via a raspberry pi. Now I can play around with VMs and Proxmox until my RAID array breaks :). Thanks for reading if you got this far, be sure to check in every now and then if you liked what you read.
